

Develop Powerapps from the Scratch - Series1/3

Hi All,
Hi, Recently I got a chance to work on a couple of high profile PowerApps. I would like to share my experience.
Planning to have a series here, this series contain how to Create, customize and share the powerapp.
I am taking product review as the scenario.Lets get started.
First things first
Setup datasource
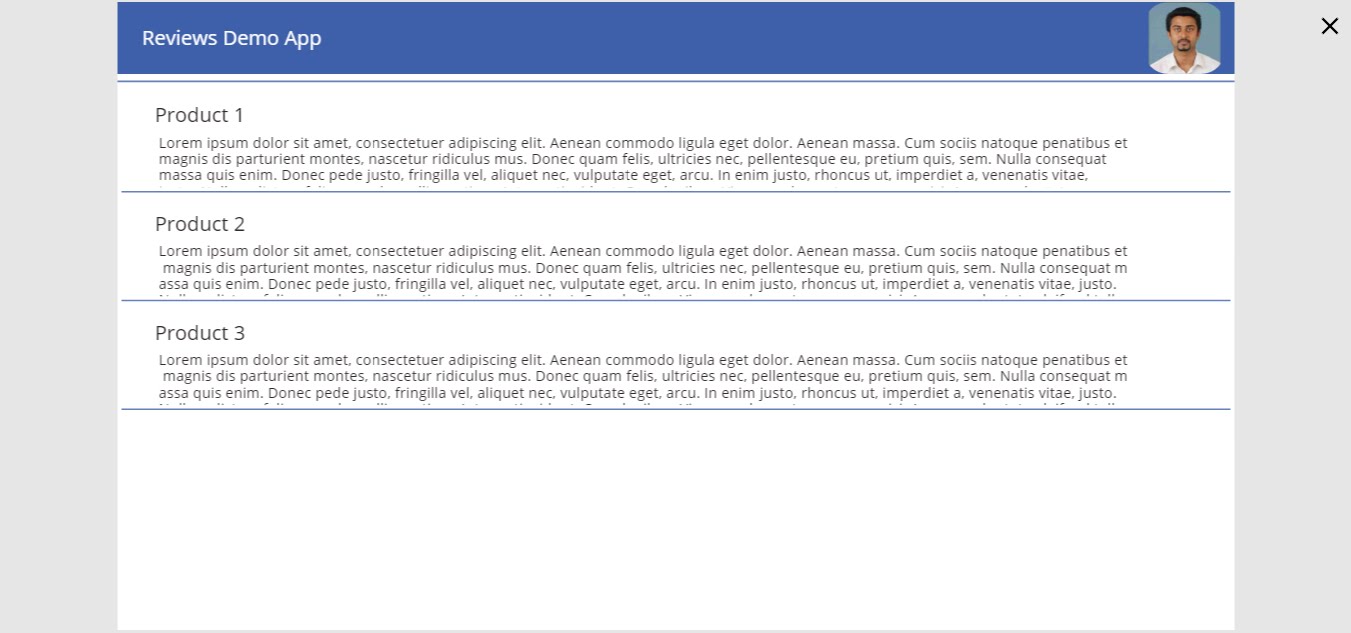
I am going to use SharePoint list as my datasource. Below is the list schema
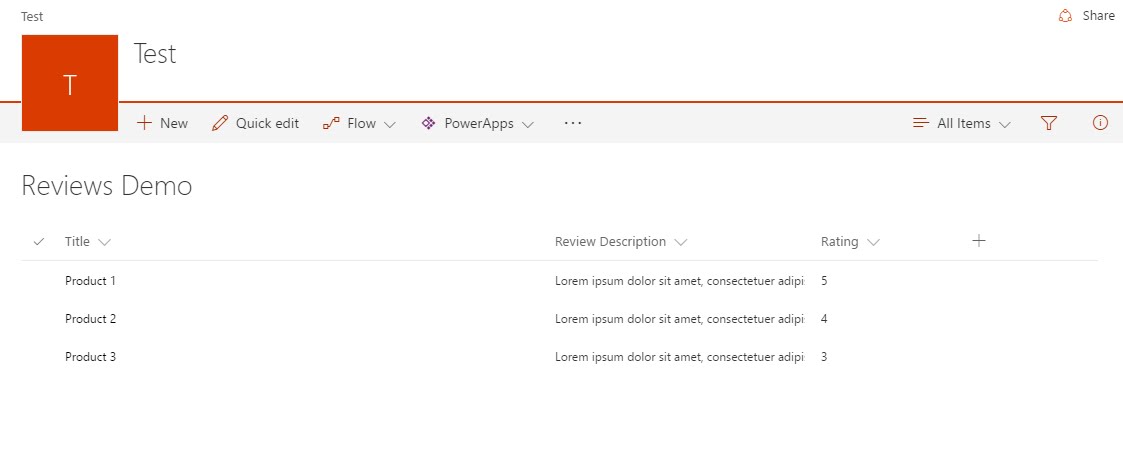
Title
|
Review Description
|
Rating
|
Product 1
|
Some Description 1
|
5
|
Product 2
|
Some Description 2
|
4
|
Product 3
|
Some Description 3
|
3
|
Note: click here for more available connections
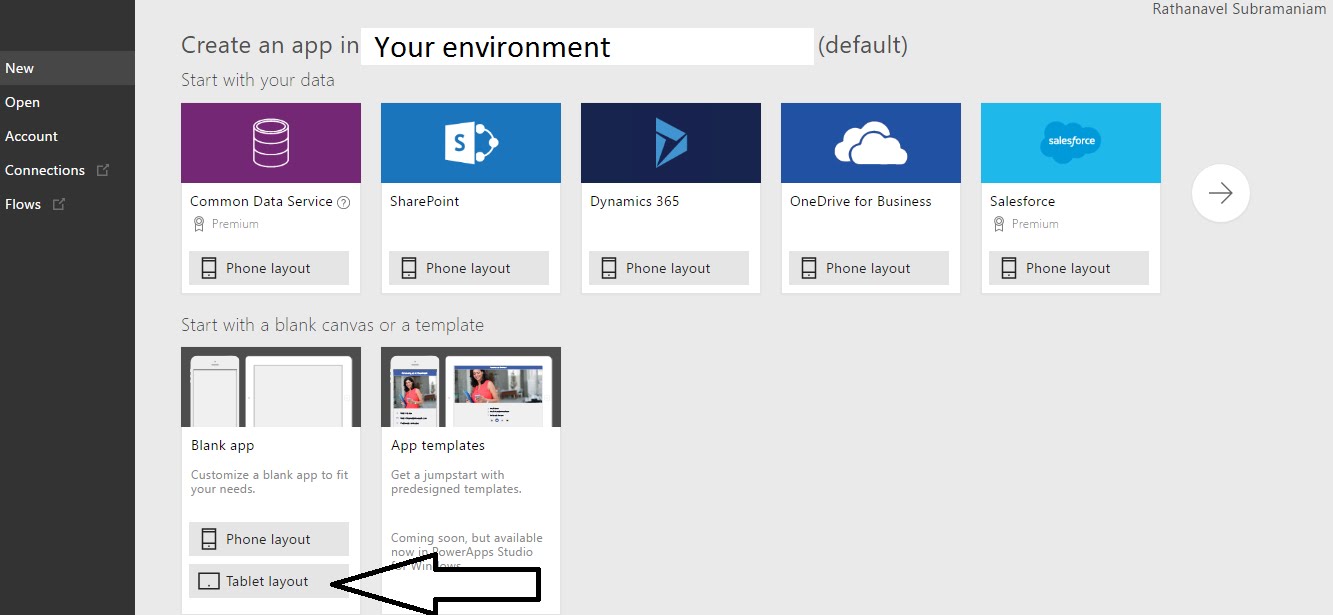
Build Powerapp from the scratch
Go to https://create.powerapps.com/ and authenticate
Select a blank app to start it from the scratch
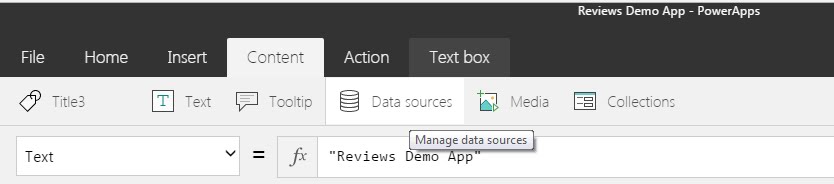
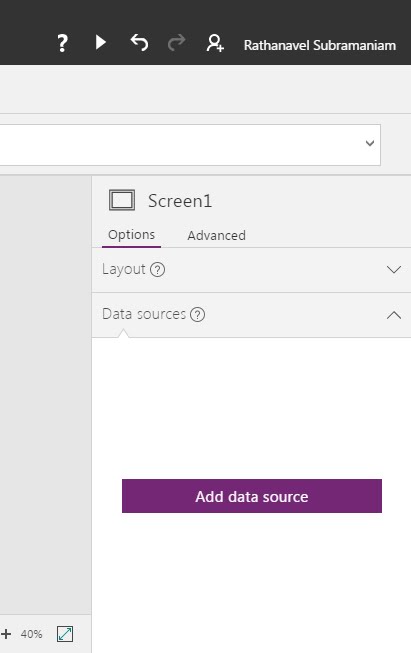
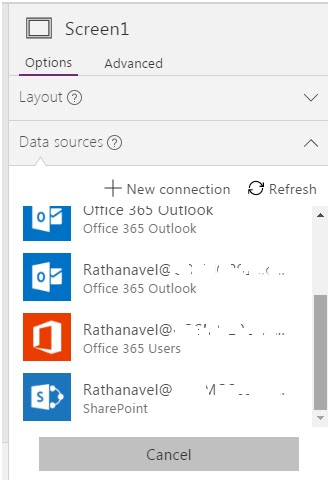
Establish connection
Go to ribbon and select content->Data Source
Then it will list the available services click SharePoint and enter URL then click GO

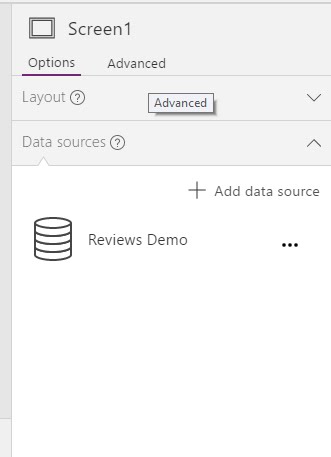
Then select your SharePoint List you want to use (My case ‘Reviews Demo’)
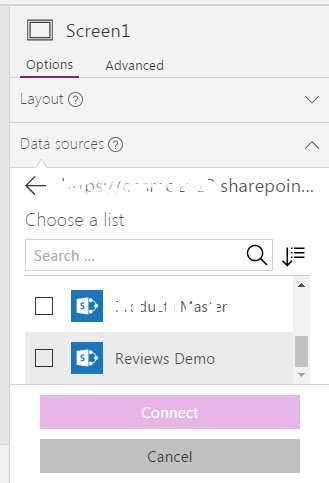
Select the list and click connect. Now datasource will be created in powerapp

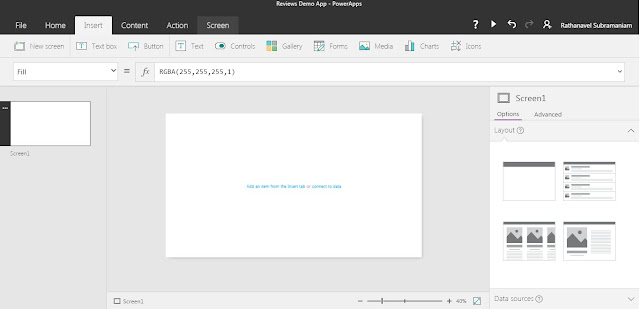
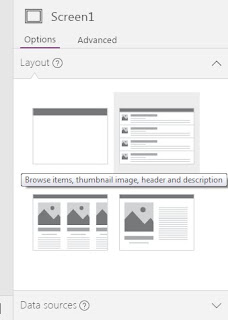
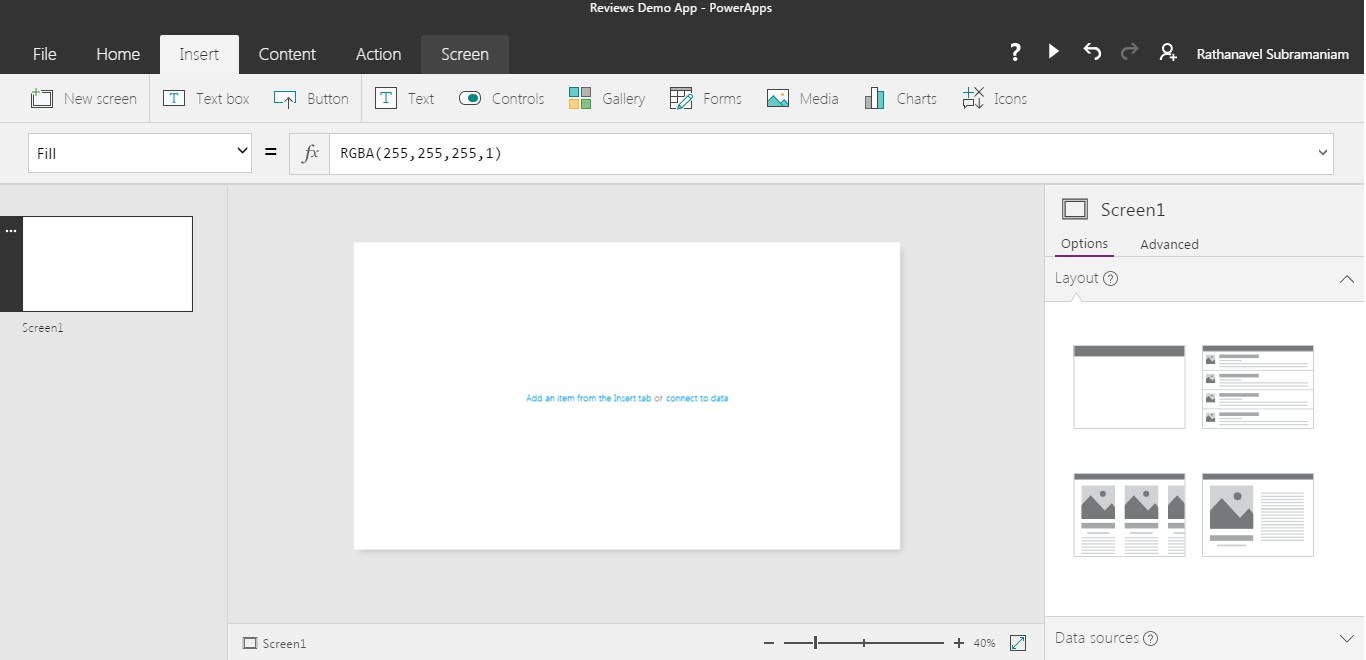
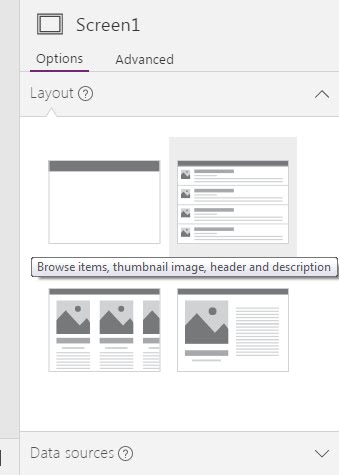
Select Screen layout
Design screen
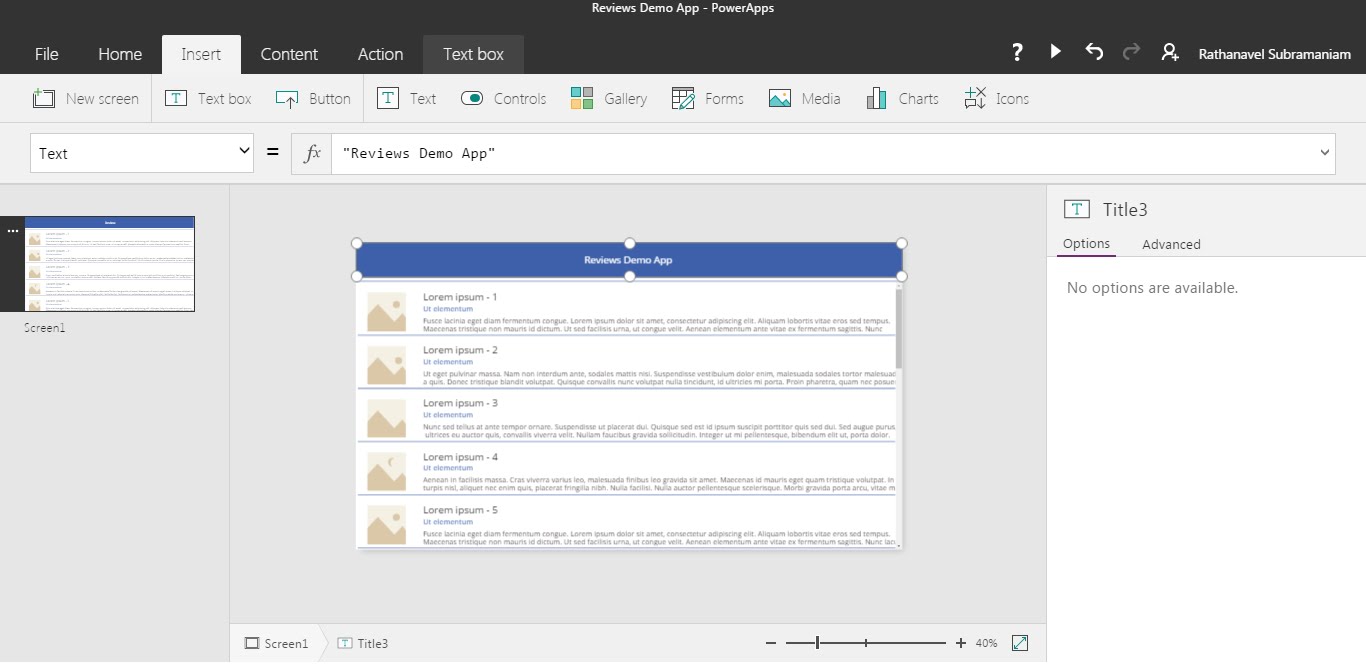
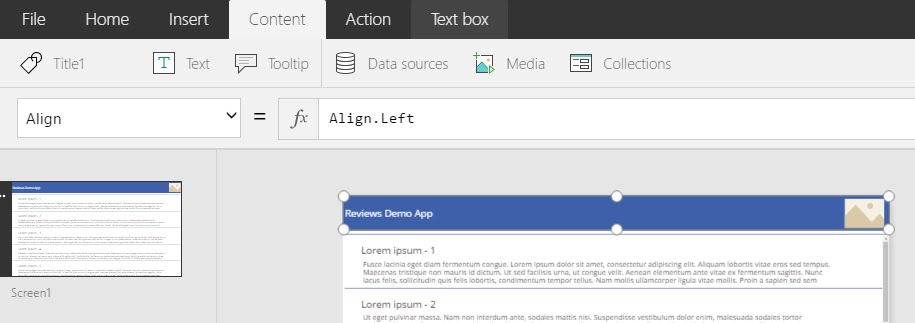
Set Title

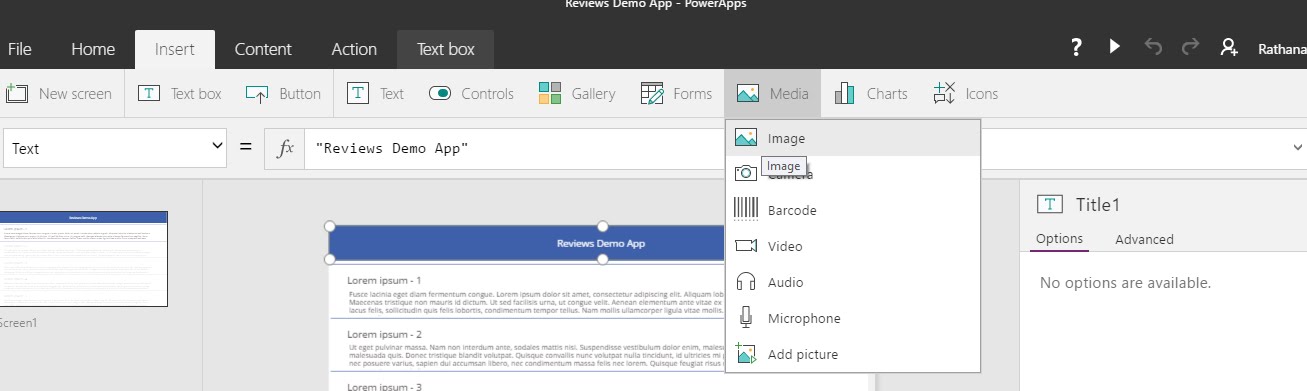
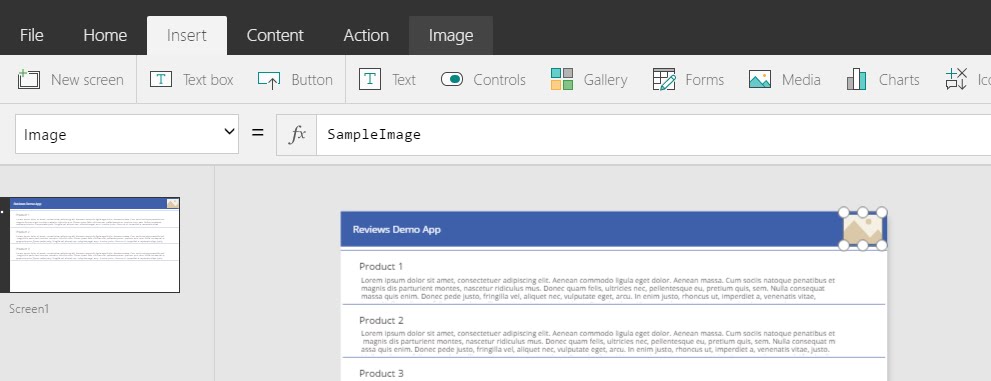
Add image control

Add image control
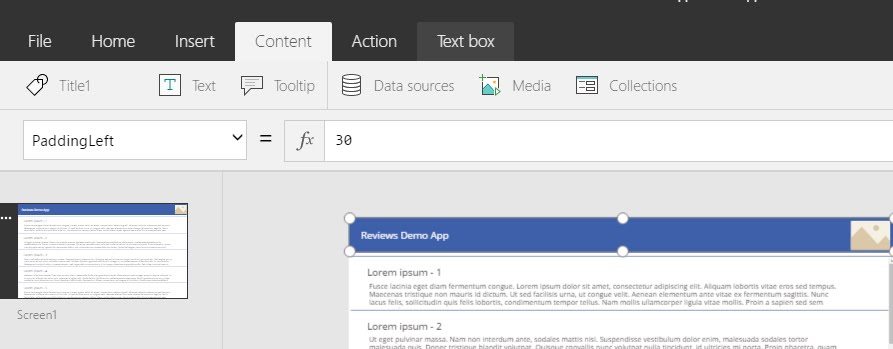
Format the title
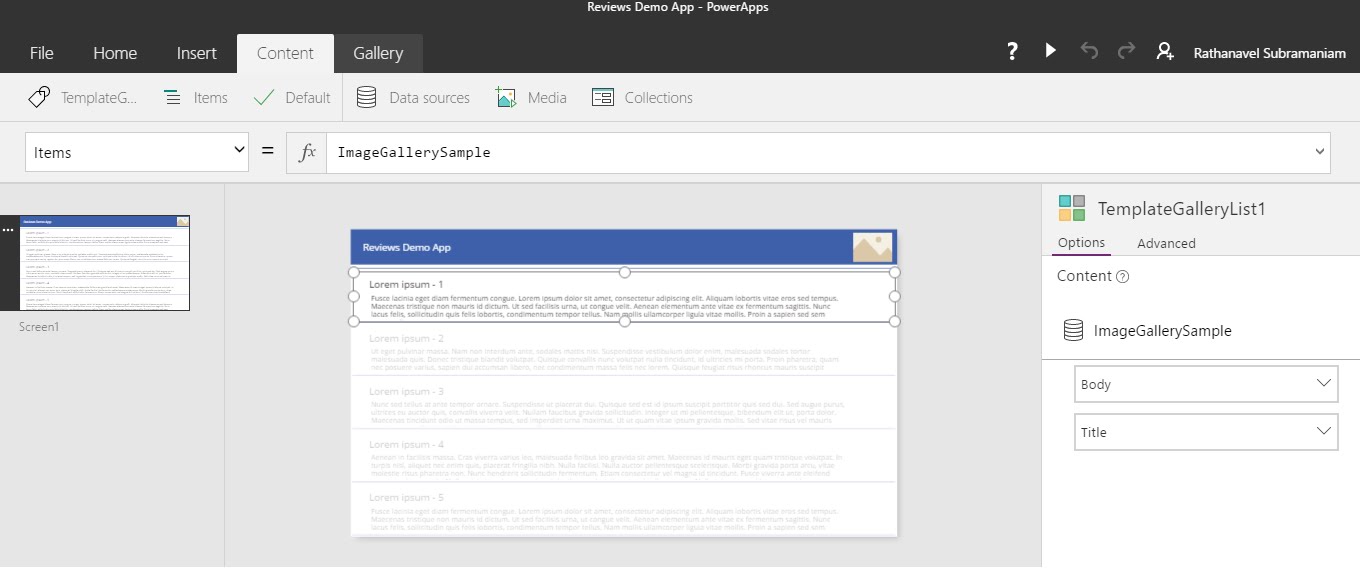
Design list view
Now click on the first item in the screen and modify it as neededNote: Remember what ever change we do for the first item would reflects to all other items
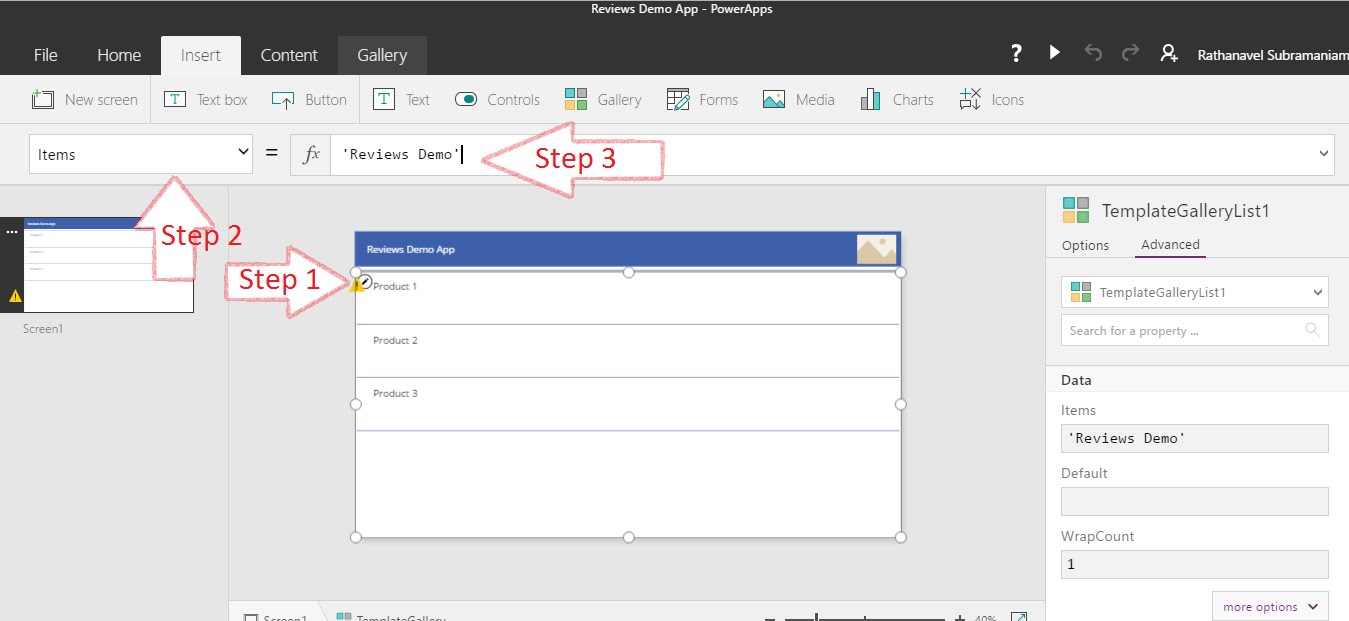
Data mapping
One of the best feature in powerapp is automatic data mapping. It's easy & straight forward

- Step 1: Select the control.
- Step 2: Choose "Items" from the drop-down.
- Step 3: Enter data source name("Reviews Demo") in my case.Note: By this time you will see minor '!' don't PANIC we are yet to complete the mapping.
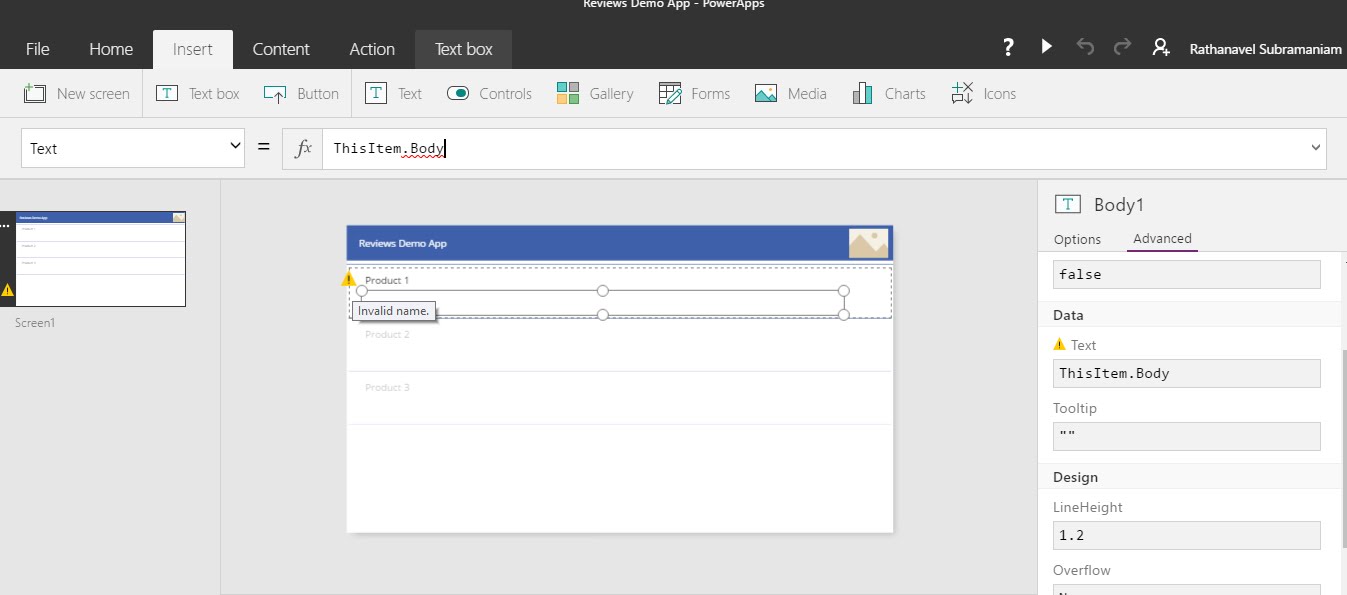
Click on the '!' symbol it will take you to the error control

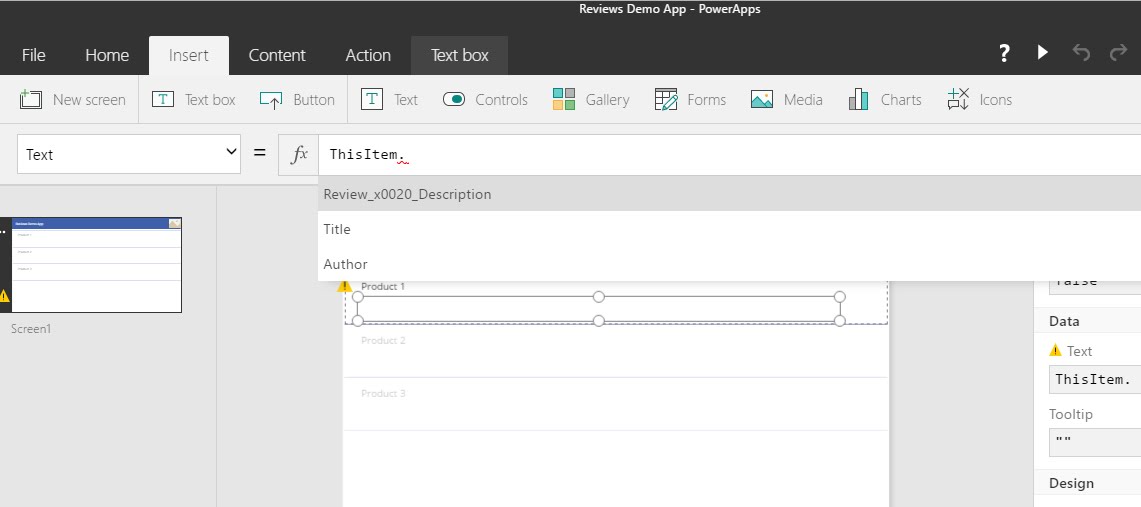
In this case i don't have a field called "body" in my datasource. so now i will change it to "Review description" column
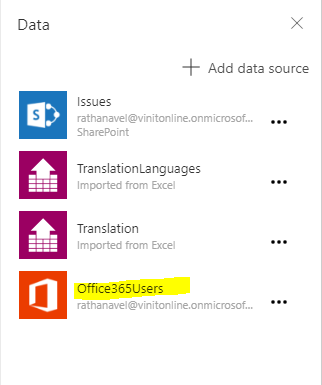
Configure user picture
Select the image control
Go to the formula bar and enter the below function()
User function has the below properties of currently authenticated user
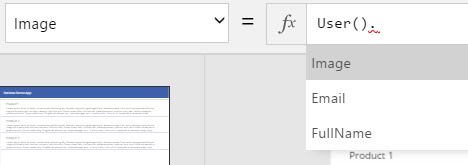
Select Image as a picture source
Note: There are many inbuilt functions available please refer here for more
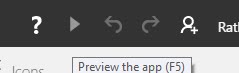
Run the application
Final output
Save & Configure
Click File-> Save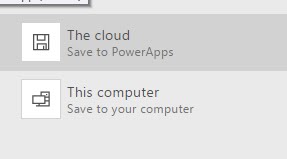
you can choose your option to save the app
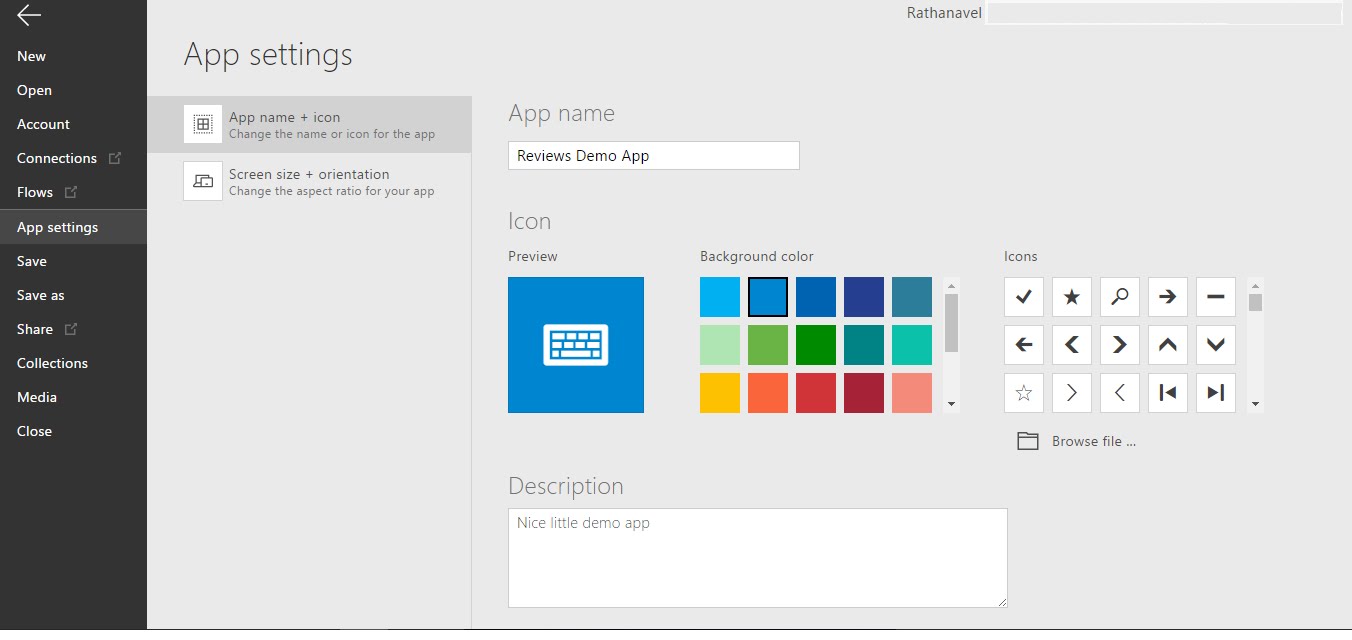
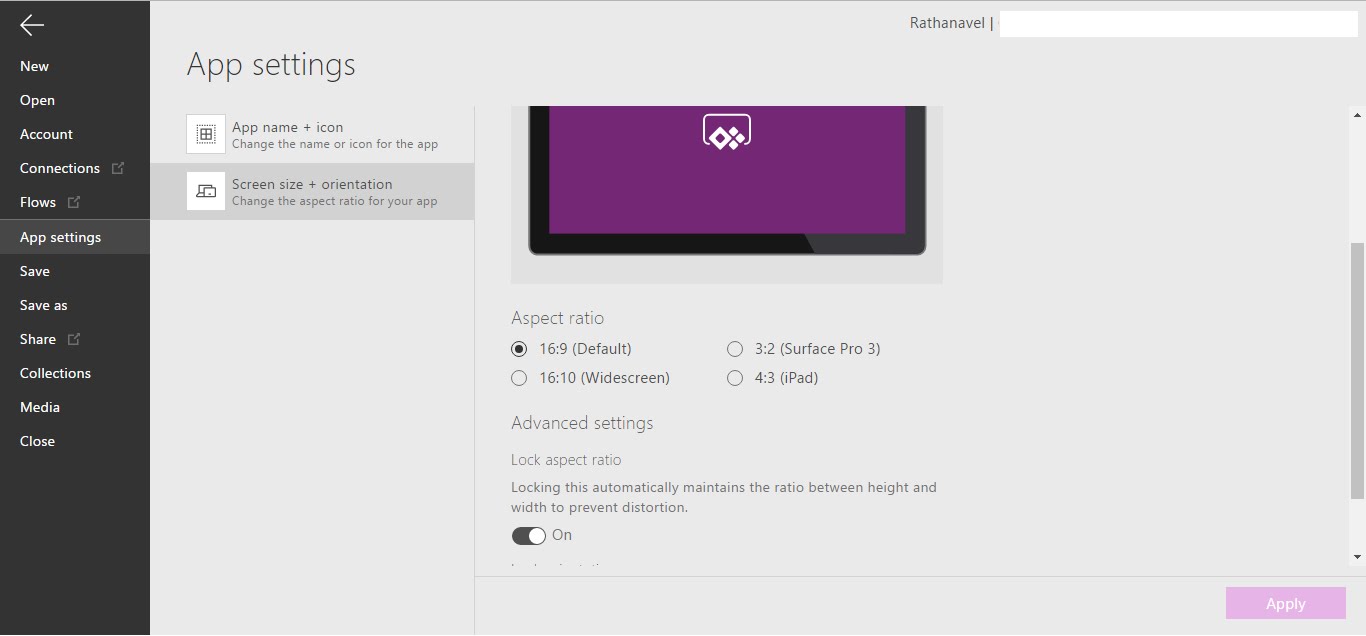
Click ->App settings and configure your app logo and kinds of stuff..
Click on Screen size + orientation
to configure the respective settings and click "Apply" to save it.
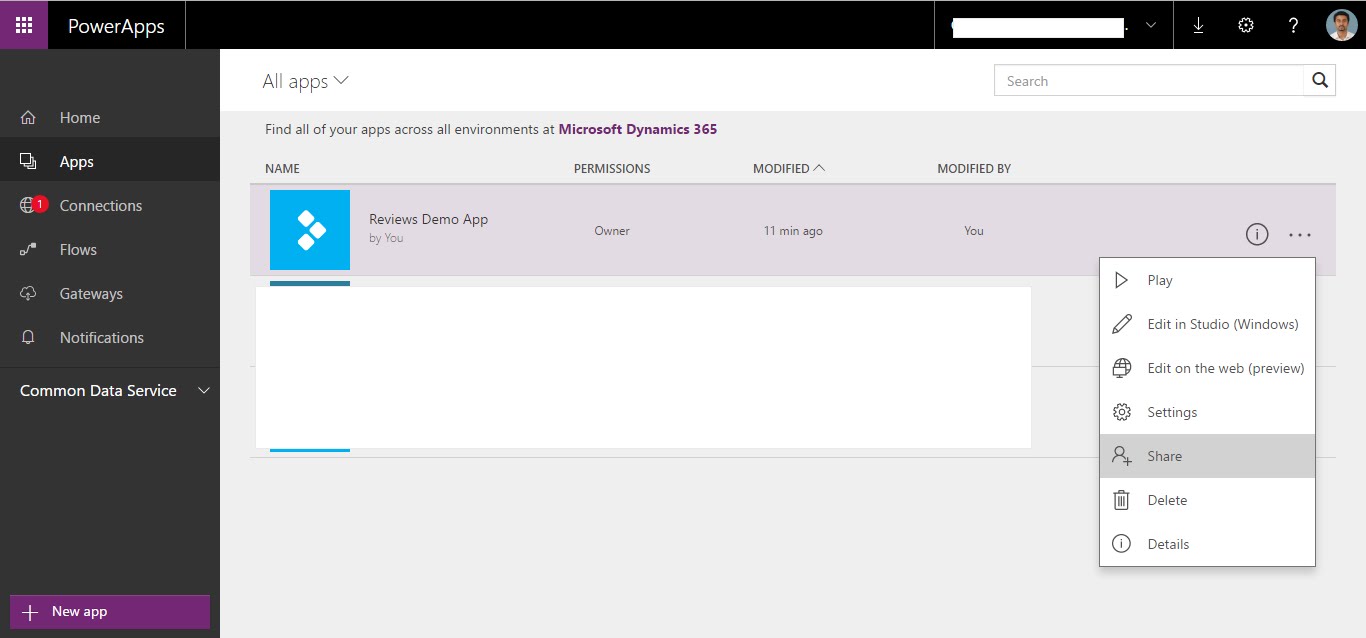
Sharing the app
Go to https://web.powerapps.com/ and authenticate
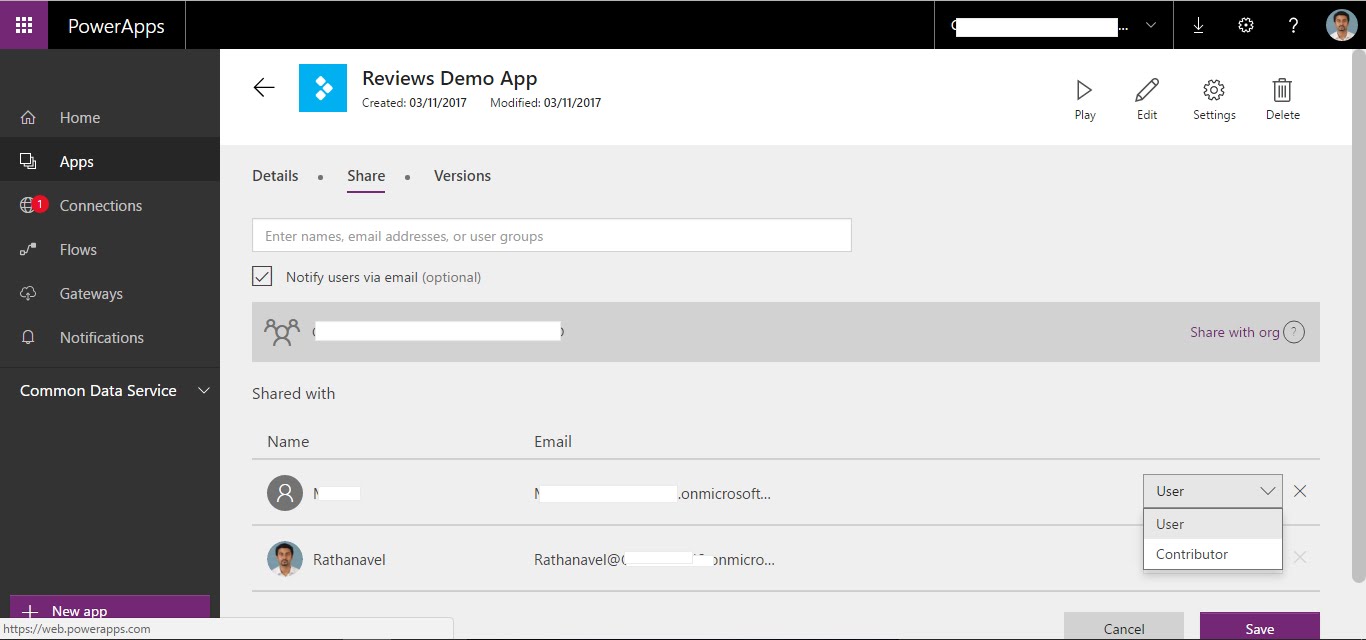
There are 2 types are permissions
1. User - can only view and modify.
2. Can edit the app and can provide access to others.
Version control
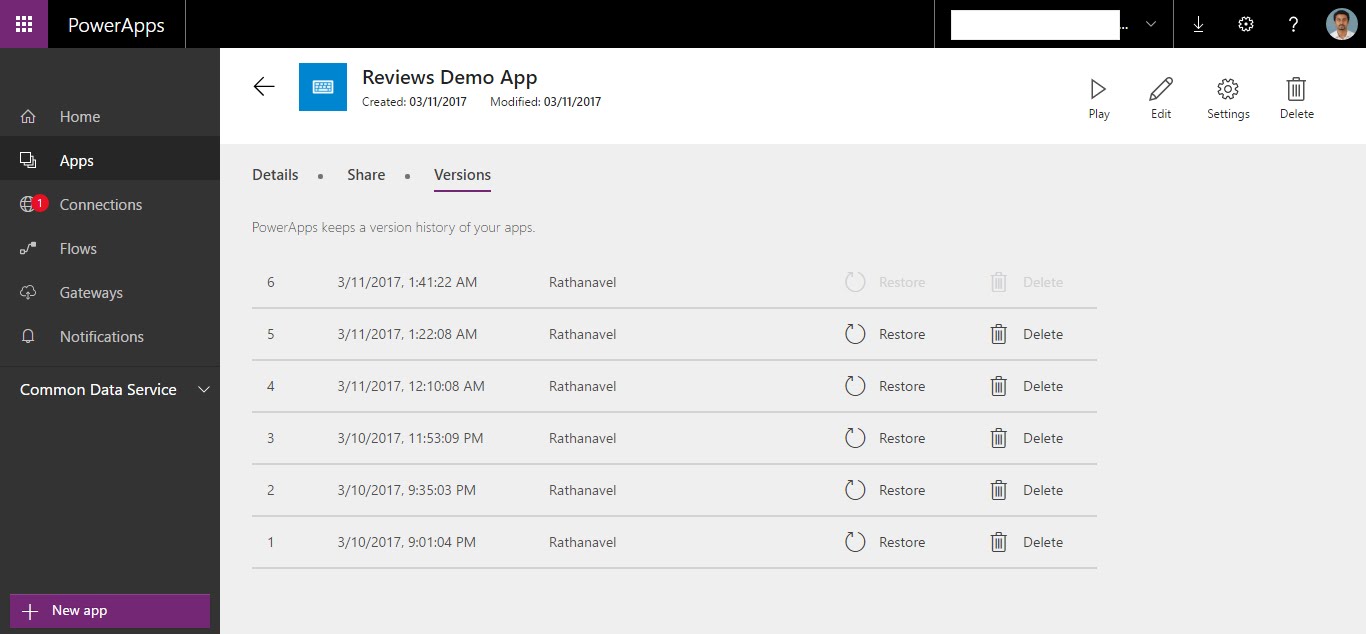
Note: It's always good to have few stable versions in just to avoid the confusion. As still there is no custom comment field available to remember our stable version.
Share it with the site users
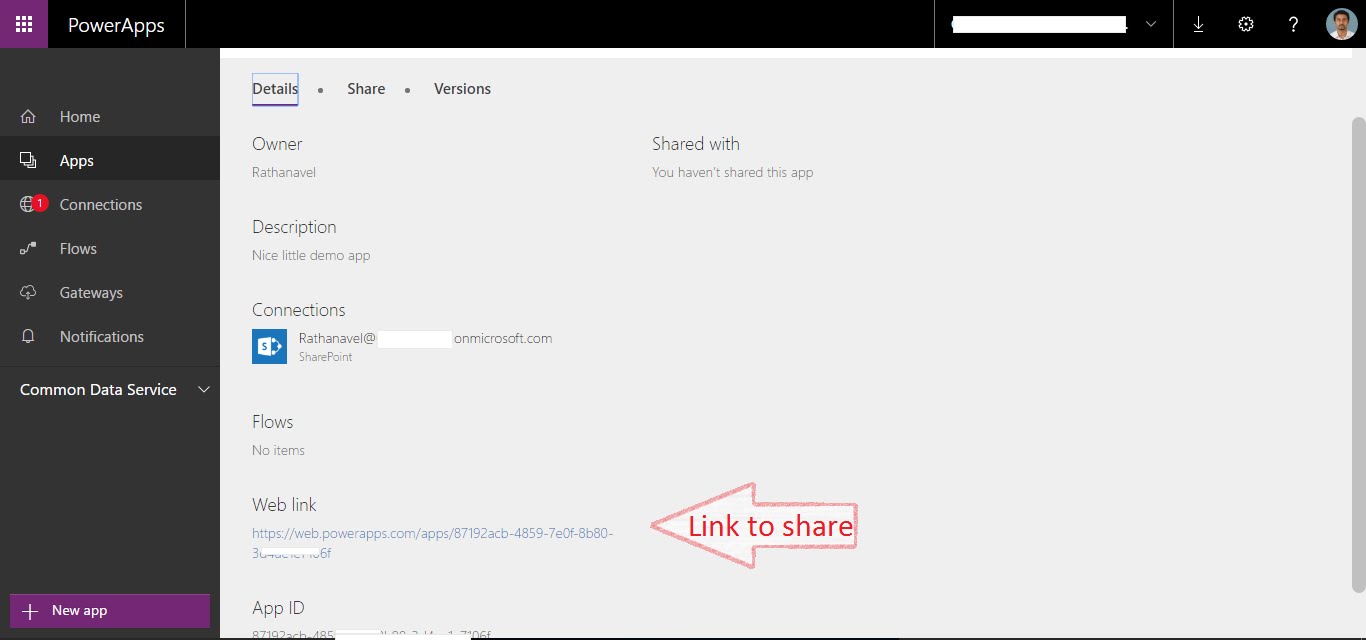
Click "Apps" from the left menu
Click "Details" icon
So in this Series(1/3) we saw how to create an powerapps from the scratch
on the upcoming series will Add some interaction to the app
- View review
- Sort review
- Add new review
- Rating review by product
Develop Powerapps from scratch series 2
Develop Powerapps from scratch series 3
Related Articles:
Ratsub


Comments
Post a Comment
Enter your comments..